In this step-by-step guide, we will show you how to save energy with smart lighting. We understand that energy conservation is important, not only for reducing electricity bills but also for minimizing our impact on the environment. Smart lighting offers a convenient and efficient way to achieve this. Through this guide, we will walk you through the process of setting up and using smart lighting in your home, allowing you to not only lower your energy consumption but also enjoy the benefits of customizable and automated lighting. So, let’s get started and learn how to save energy with smart lighting!
Top-rated smart lighting options
Assess your current lighting setup
To assess your current lighting setup, start by taking a close look at your existing lighting fixtures. Identify which ones can be replaced with smart lighting options. Look for fixtures that are compatible with smart bulbs or have the capability to be integrated with a smart lighting system.
To determine compatibility, check if your existing fixtures use standard bulb sockets such as E26 or E27, which are commonly used for smart bulbs. If your fixtures use non-standard sockets, ensure that there are smart bulbs available in the market that can fit into them.
Consider the type of lighting control you desire for each area of your space. For example, if you want to have the ability to dim the lights in certain rooms, look for fixtures that can accommodate smart dimmable bulbs or have built-in dimming capabilities.
Evaluate the functionality of your existing fixtures and think about the features you wish to have with smart lighting. This could include scheduling, voice control, color changing options, or compatibility with other smart home devices.
By carefully assessing your current lighting fixtures, you can identify which ones can be replaced with smart lighting options to enhance your overall lighting experience and increase energy efficiency in your home or workspace.
Choose energy-efficient smart bulbs
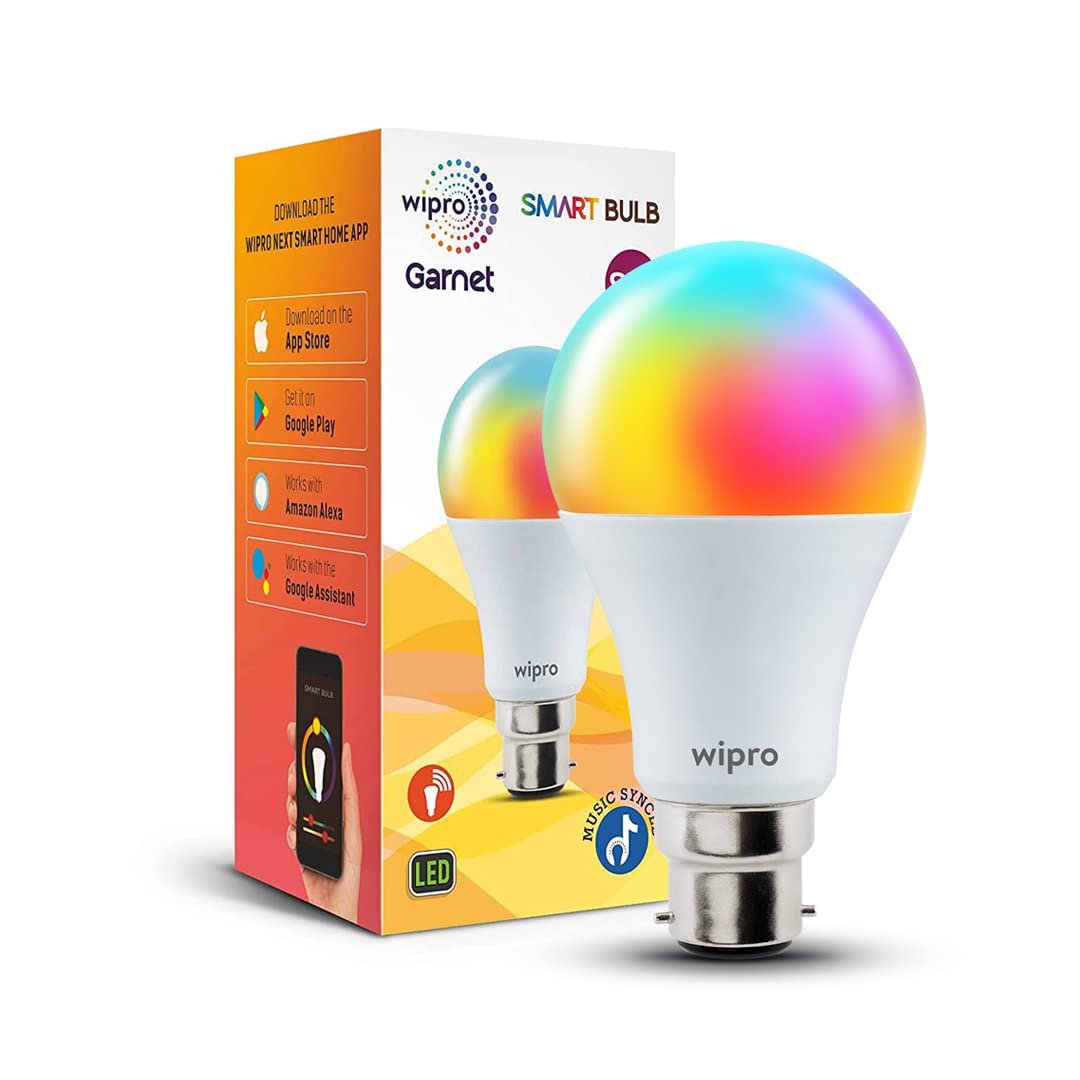
To reduce your energy consumption and make your home more energy-efficient, it is important to select smart bulbs with high energy efficiency ratings. LED bulbs are an excellent choice in this regard. Here’s why:
- Opt for LED bulbs: LED (Light Emitting Diode) bulbs are known for their superior energy efficiency compared to traditional incandescent or fluorescent bulbs. They use up to 80% less energy while producing the same amount of light.
- Long lifespan: LED bulbs have a much longer lifespan compared to other types of bulbs, which means you won’t have to replace them as frequently. This translates to less energy consumption and cost savings in the long run.
- Instant-on: LED bulbs provide instant full brightness when turned on, unlike some other energy-efficient options that may take a few seconds to reach their full illumination. This ensures you always have immediate light when you need it.
- Dimmable options: Look for LED bulbs that are dimmable if you prefer to adjust the brightness levels in your space. This feature allows you to customize the lighting to suit your needs while still maintaining energy efficiency.
- Energy Star certification: Another aspect to consider is choosing smart bulbs that have earned the Energy Star certification. This label indicates that the product meets strict energy efficiency guidelines set by the U.S. Environmental Protection Agency (EPA). Energy Star certified bulbs are guaranteed to save energy without compromising on quality or performance.
By selecting energy-efficient smart bulbs like LED bulbs, you can significantly reduce your energy consumption and contribute to a greener and more sustainable future.
Install smart switches or dimmers
To replace your regular switches or dimmers with smart switches or dimmers, follow these steps:
- Choose the right smart switch or dimmer: Look for switches or dimmers that are compatible with your existing wiring and are compatible with the smart home system you have or plan to use. Some popular options include products from brands like Lutron, Leviton, and TP-Link.
- Turn off the power: Before working with any electrical components, make sure to turn off the power to the circuit you’ll be working on. Locate the breaker or fuse that controls the power to the switch or dimmer and switch it off.
- Remove the old switch or dimmer: Unscrew the faceplate and remove it. Then, unscrew the switch or dimmer from the electrical box. Take note of the wires attached to the old switch or dimmer and their corresponding positions.
- Connect the new smart switch or dimmer: Attach the wires from the new smart switch or dimmer to the corresponding wires in the electrical box. Typically, this involves connecting the black wires together, the white wires together, and the ground wires together. Follow the manufacturer’s instructions for your specific switch or dimmer.
- Secure the new smart switch or dimmer: Once all the wires are properly connected, carefully push the switch or dimmer back into the electrical box. Screw it in place, ensuring it is secure and sits flush with the wall.
- Attach the faceplate: Place the faceplate over the switch or dimmer and screw it back in place. Make sure it is aligned properly and looks neat.
- Turn on the power: Finally, turn the power back on by flipping the breaker or fuse switch to the “on” position. Test the smart switch or dimmer to ensure it is working correctly.
By replacing your regular switches or dimmers with smart switches or dimmers, you gain the convenience of remote control and the ability to adjust brightness levels according to your needs. For example, you can use a smartphone app or voice command to turn on the lights before entering a dark room. You can also dim the lights to create a cozy ambiance for movie nights or brighten them for tasks that require more light.
Create lighting schedules
To set up lighting schedules for your smart lights and reduce unnecessary energy usage, follow these easy steps:
- Open the smart lighting app on your phone or tablet.
- Tap on the “Schedules” or “Automation” tab.
- Click on the “+” or “Add” button to create a new schedule.
- Choose the specific smart light or group of lights that you want to control.
- Set the time and days of the week when you want the lights to turn on or off.
- Select the desired brightness or color settings for the lights.
- Save the schedule and give it a name for easy reference.
Now, your smart lights will automatically turn on or off at the scheduled times, without you having to remember to do it manually. This not only helps you save energy but also adds convenience to your daily routine. Feel free to create multiple schedules for different rooms or occasions to further customize your lighting experience.
Utilize motion sensors
Install motion sensors that can detect when a room is unoccupied and automatically turn off the lights to save energy. Motion sensors are a simple yet effective way to reduce energy consumption in your home or workplace. Here’s how you can install and utilize motion sensors to maximize their energy-saving potential:
- Choose the right motion sensor: Select a motion sensor that suits your needs and the size of the room. There are various types available, including infrared (IR) and ultrasonic sensors. IR sensors detect body heat, while ultrasonic sensors use sound waves to detect motion. Consider factors such as sensitivity, range, and compatibility with your lighting system.
- Identify optimal sensor placement: Determine the best locations for mounting your motion sensors. Ideally, place them in areas where they can detect motion easily, such as entryways, hallways, or common areas. Make sure to avoid obstacles that may obstruct their field of view, such as furniture or curtains.
- Turn off the power: Before installing the motion sensors, turn off the power to the lighting circuit you’ll be working on. This ensures your safety during the installation process.
- Mount the sensors: Follow the manufacturer’s instructions to mount the sensors securely. Most motion sensors can be attached using screws or adhesive backing. Ensure they are at the appropriate height and angle for optimum detection. For example, mounting a sensor around 7-9 feet above the ground with a slight downward angle works well for detecting human motion.
- Connect the wiring: Depending on the sensor and your lighting system, you may need to connect wires to the appropriate terminals. Consult the sensor’s manual or seek professional assistance if you’re unsure about the wiring process. Remember to use the appropriate safety precautions when working with electrical connections.
- Adjust the settings: After installation, adjust the sensitivity and time delay settings of the motion sensors to suit your preferences. Sensitivity controls how easily the sensors detect motion, while the time delay determines how long the lights stay on after motion is no longer detected. Experiment to find the settings that work best for your needs.
By installing motion sensors and setting them up correctly, you can save energy by ensuring that lights are only active when needed. This not only reduces electricity consumption but also extends the lifespan of your light bulbs. Embrace this energy-saving solution and enjoy the convenience of automatic lighting control while contributing to a greener environment.
Connect to a smart home system
To integrate your smart lighting system with a smart home system, follow these steps:
- Check compatibility: Ensure that your smart lighting system is compatible with the smart home system you are using. Most smart lighting systems can integrate with popular smart home platforms such as Amazon Alexa, Google Assistant, or Apple HomeKit. Verify compatibility by consulting the user manual or visiting the manufacturer’s website.
- Install the smart home system: If you haven’t already, set up your smart home system following the manufacturer’s instructions. This typically involves connecting a hub or bridge to your Wi-Fi network and installing the corresponding mobile app on your smartphone or tablet.
- Connect your smart lighting system: Open the smart home app and navigate to the settings or devices section. Look for options to add new devices or integrate with third-party systems. Select the option to add a new device and choose your smart lighting system from the list of compatible devices.
- Follow the pairing process: The app will guide you through the pairing process, which usually involves pressing a button on the lighting system or entering a pairing code. Ensure that your smart lighting system is in pairing mode and follow the instructions on the app to establish the connection.
- Configure voice control or app control: Once the smart lighting system is successfully integrated, you can configure how you want to control your lights. If you prefer voice control, link your smart home system with your voice assistant (e.g., Amazon Alexa or Google Assistant) and follow the prompts to set up voice commands for controlling the lights. Alternatively, you can use the dedicated smart home app to control your lights remotely from your mobile device.
By integrating your smart lighting system with a smart home system, you can enjoy the convenience of controlling your lights through voice commands or a mobile app. Whether you want to turn on the lights from the comfort of your couch or adjust the brightness without getting up, this integration allows you to effortlessly manage your lighting system with ease.
Key Takeaways
In conclusion, we have explored the various ways in which smart lighting can help us save energy and reduce our electricity bills. By utilizing features such as motion sensors, dimmers, and timers, we can ensure that lights are only on when needed, reducing unnecessary energy consumption. Additionally, the ability to control lighting remotely through smart devices allows us to easily manage and optimize energy usage. It is evident that smart lighting offers a practical and efficient solution for saving energy and making a positive impact on the environment. By implementing these tips and upgrading to smart lighting systems, we can not only reduce our carbon footprint but also enjoy the cost-saving benefits of lower electricity bills. Let us embrace the power of smart lighting and contribute to a greener and more sustainable future.


